

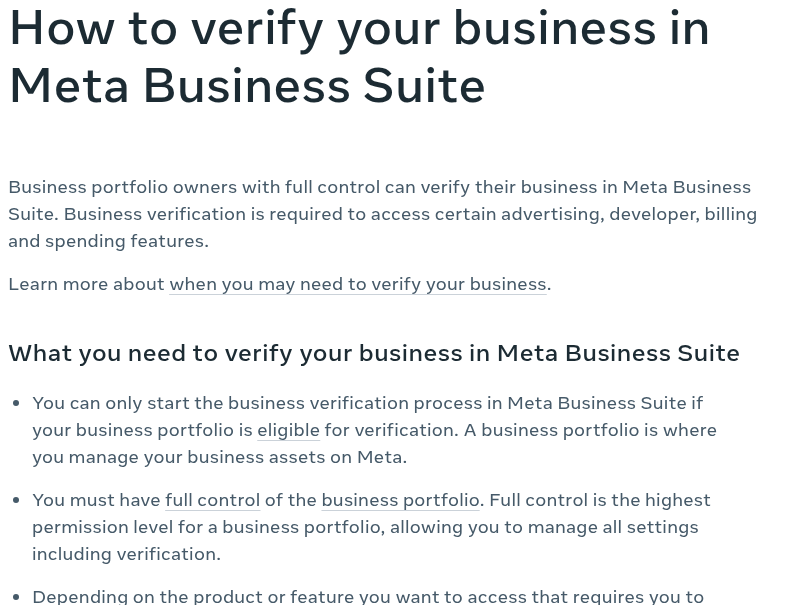
Business verification confirms to Meta that the business is a legitimate legal entity. It is required to access certain capabilities in advertising, developer APIs, billing, and budgets. Verification is conducted from the Security Center, and only a portfolio owner with Full control can initiate it.
Step 1: Before You Begin
Make sure you have a Business portfolio and that it is eligible for verification.
Make sure you have Full control over the portfolio - the highest permission level, which also includes verification settings.
Make sure the business website loads normally at a secure address (https) - Meta checks this.
Step 2: Starting the Verification Process
Go to Security Center in Meta Business Suite. If you do not have access to Security Center, you likely do not have Full control over the portfolio.
Click Start verification. If Ineligible for verification appears, there is no need to complete verification through Security Center - depending on the product, you may receive an invitation to verify via email or a notification elsewhere.
Fill in the business details: legal name, address, phone number, and website. The details must exactly match the legal entity of the business.
From Meta's official help page: How to verify your business in Meta Business Suite (screenshot from public help page).
Step 3: Confirming Details and Proving Connection to the Business
Confirm the business details. If no matching record is found, you can select that the business is not listed - in which case you may be asked to upload official documents, such as a business license or certificate of incorporation.
Choose a method to prove your connection to the business: email, phone, SMS message, WhatsApp message, or domain verification.
Confirm and finish. A message will appear stating that the request has been received.
The decision on the verification request can take up to 14 business days, and a notification will arrive when the review is complete. Please note: editing business details after verification requires going through the process again, and providing false details may lead to rejection of the request and actions against the account. Accounts paying via monthly invoicing do not need to upload documents.
Step 4: Domain Verification
Domain verification is free and separate from business verification. It confirms that the website domain belongs to the business, and allows managing who is permitted to edit link previews for your content - both in organic posts and in ads.
Adding a meta tag to the domain's homepage.
Uploading an HTML file to the root directory of the site.
Adding a DNS TXT record with the domain registrar.
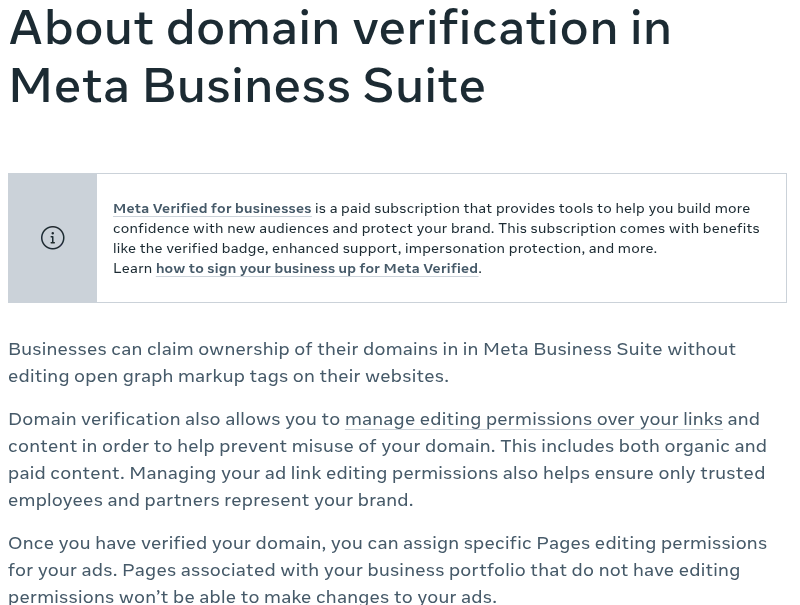
From Meta's official help page: About domain verification in Meta Business Suite (screenshot from public help page).
Please Note
Business verification is different from Meta Verified for businesses - Meta Verified is a paid subscription with a verification badge, whereas the verification described here does not grant such a badge. After domain verification, you can assign editing permissions to specific Pages; Pages without permission will not be able to edit ads.
Official sources: Meta Business Help Center - "How to verify your business in Meta Business Suite" (business verification) and "About domain verification in Meta Business Suite" (domain verification), at facebook.com/business/help.